Use of the COLP/COFA functionality
Updated Dec 21st, 2022
Who is this guide for?
System Supervisors and COLP/COFA admins
You can utilise the COLP and COFA functionality in Osprey.
In addition to the COLP areas covered by worktypes, the following areas are available accessed within the Case Management menu:
- Oaths
- Storage
- Fee Sharing & Referrals
- Introductions to Third Parties
- Equality and Diversity Breaches
Change the Access Template
Step 1
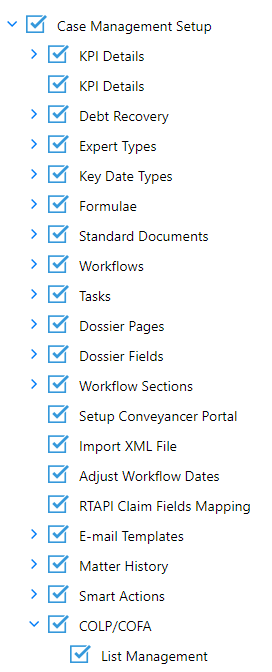
To obtain full access to these areas, navigate to your ‘Supervisor’ tab and select ‘System Setup’. Go to ‘Users’ and then select ‘Access Templates’.

Within the ‘Supervisor’ area of the Access Template, ensure that the below check boxes for COLP/COFA and ‘List Management’ are ticked.
Step 2
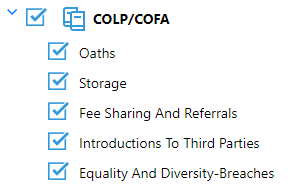
Now select the ‘COLP/COFA’ option on the main list of template areas and select the ‘Allow Area Access’ link at the top. Ensure that the relevant areas of COLP/COFA that you wish to use are ticked, then click ‘Save’.
Step 3
Making use of COLP/COFA
Once access has been enabled, relevant users will be able to access COLP List Management via an independent entry beneath Smart Actions:
The screen shows all current lists, with one entry for each list item. Data available is Area Type, List Type, Value, Created Date, Created by, Last Modified Date and Last Modified By.

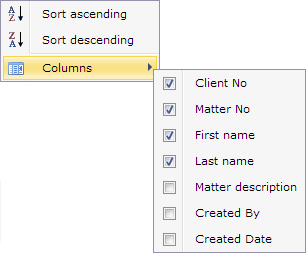
Columns can be dragged to expand or contract, can be sorted into ascending or descending order and can be hidden or shown as required.
New items can be added to a list, and lists can be edited, cloned and deleted. List Management is available for all COLP lists, except where the content is pre-defined.
Step 4
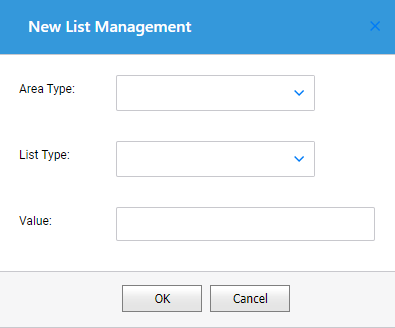
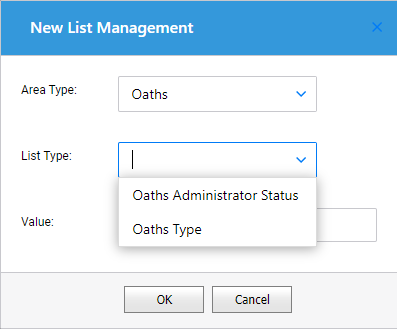
To add a new list, click on ‘New’ at the top of the screen.

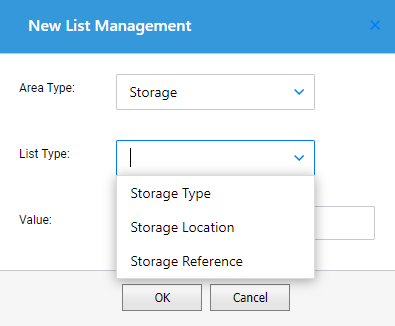
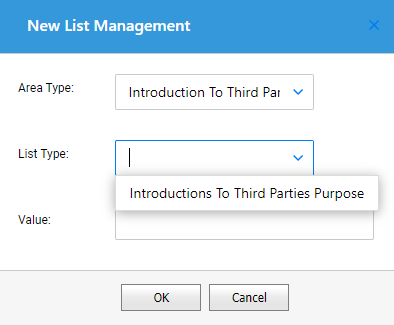
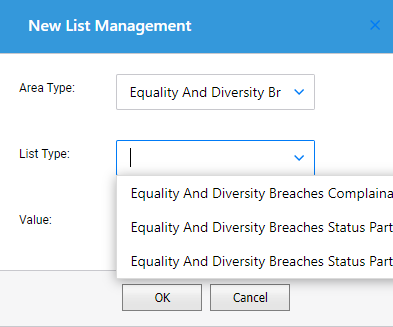
Now select ‘Area Type’, then choose a ‘List Type’. Please note that there is no option for Fee Sharing and Referrals as all the lists here are pre-defined.
Step 5
In terms of list type, you have several options:
Oaths
Storage
Introduction to Third Parties
Equality and Diversity Breaches
Then type in the text required into the Value field, and Save. Repeat as required.
Step 6
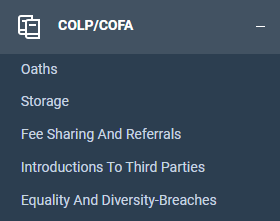
In terms of user level access to COLP/COFA, the tab is available on the left-hand menu.
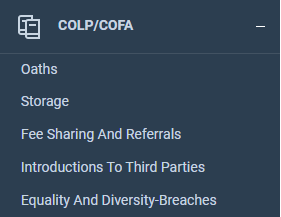
Please note that if the tab does not appear, it is likely that your access template does not allow you to view this area of Osprey. Please contact your system supervisor to arrange access.
Step 7
The COLP/COFA functionality offers a number of search and filter options which may be new to users. The details below apply to all COLP areas.
Click at the far right of any search field to reveal Filter Options. Each Search can be set up with individual filter options, if required:
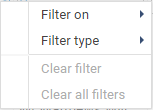
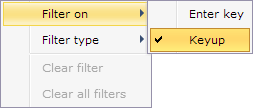
Select ‘Filter On’ will allow you to select the option for ‘Keyup’, which means that the filter can be set to operate as soon as characters are typed into the search box, or ‘Enter Key’, which will only operate upon clicking ‘Enter’ on your keyboard.
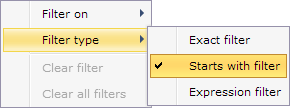
The ‘Filter Type’ area allows you to select an ‘Exact Filter’ to match the typed text exactly, or the ‘Starts With’ filter in which you can add the start of your text, then search.
‘Expression Filter’ looks for patterns in text data – the use of * means “match zero or more of the following characters” – eg thd* would return results for “Third Party Introductions” as well as “Oaths Administrator”.
Oaths
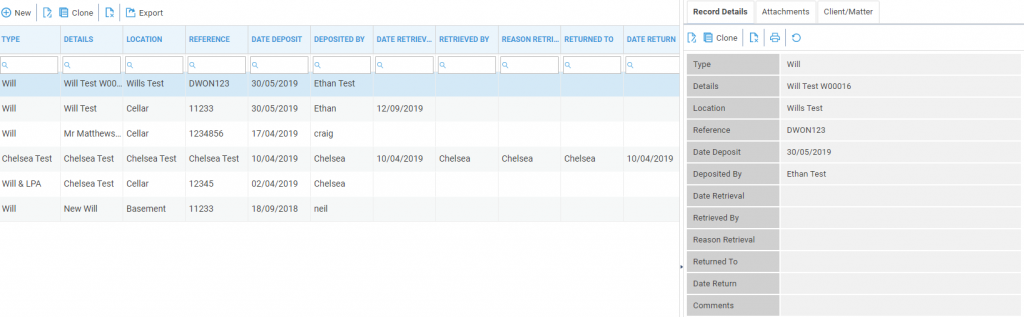
Clicking on the ‘Oaths’ heading will reveal all records on the database. Clicking on a particular record will bring up the details for this particular record on the right-hand side of the screen.
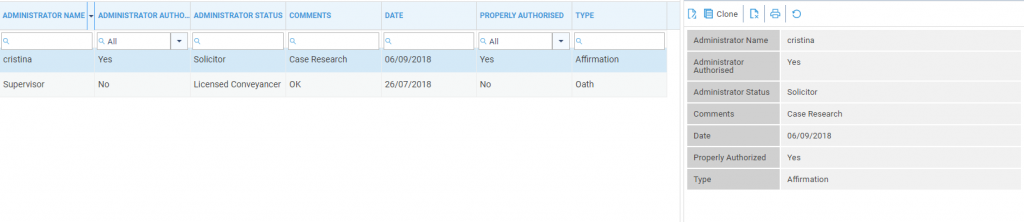
Alternatively, right-click on one of the available records and click ‘View’ to bring up the details panel.
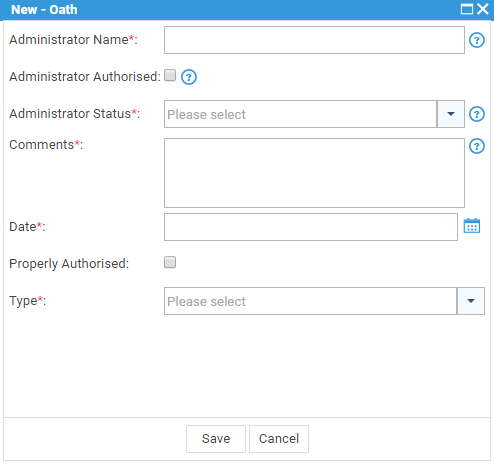
To add a new record, select the ‘New’ icon on the top toolbar and enter the data as required. Then select ‘Save’ once complete.
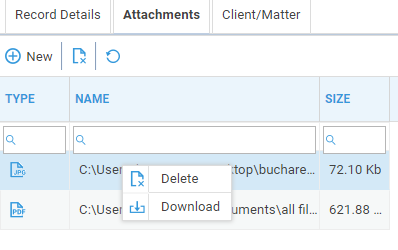
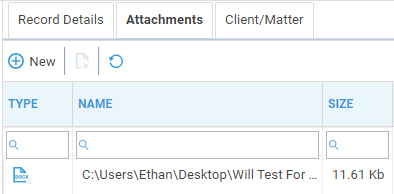
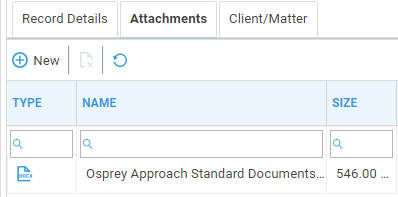
Within the ‘Record Details’ side panel, select the ‘Attachments’ tab to view any available documents attached. These can be viewed, downloaded, deleted and added. Right-click an attachment to view options for deleting and downloading.
To add an attachment click on the ‘New’ icon and browse to the required document. Click ‘Open’ and the document will be saved to the record. Repeat for as many documents as are required.
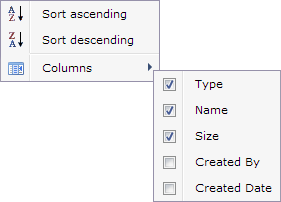
The following column options are available within the Attachment details area.

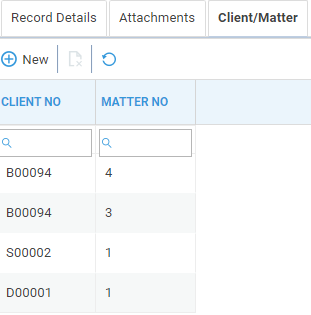
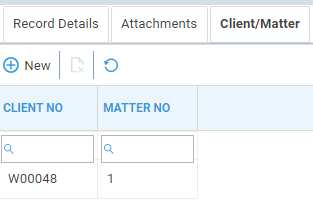
You may also assign particular records to clients or matters if required. Left click on the relevant record and then select the ‘Client/Matter’ tab. Click ‘New’ and you may now either type in the details required or select the drop-down arrow for further search options.
Records can be assigned at Client level or at Matter level. They can be assigned to more than one Client and/or Matter.
Within the ‘Client/Matter’ tab, you have the following column options.
Individual records can be printed by selecting the ‘Print’ option within the ‘Record Details’ area.

Storage
Clicking on the ‘Storage’ heading will reveal all records on the database. Clicking on a record will bring up the details for this particular record on the right-hand side of the screen.
Alternatively, right-click on one of the available records and click ‘View’ to bring up the details panel.
To add a new record, select the ‘New’ icon on the top toolbar and enter the data as required. Then select ‘Save’ once complete.

Within the ‘Record Details’ side panel, select the ‘Attachments’ tab to view any available documents attached. These can be viewed, downloaded, deleted and added. Right-click an attachment to view options for deleting and downloading.
To add an attachment click on the ‘New’ icon and browse to the required document. Click ‘Open’ and the document will be saved to the record. Repeat for as many documents as are required.
The following column options are available within the Attachment details area.

You may also assign particular records to clients or matters if required. Left click on the relevant record and then select the ‘Client/Matter’ tab. Click ‘New’ and you may now either type in the details required or select the drop-down arrow for further search options. Records can be assigned at Client level or at Matter level. They can be assigned to more than one Client and/or Matter.
Within the ‘Client/Matter’ tab, you have the following column options.

Individual records can be printed by selecting the ‘Print’ option within the ‘Record Details’ area.
Fee Sharing and Referrals
After selecting the ‘New’ button under ‘Fee Sharing & Referrals’, complete all relevant data in respect of the Fee Sharing Arrangement by checking the relevant boxes.

Left-click the check box one or more times to cycle through the options.
- A tick in the box means ‘Yes’.
- A solid square in the box means ‘Not Applicable’
- An empty box means ‘No’
When the report is run, ‘Yes’ results show as ‘True’. ‘No’ results show as ‘False’ and ‘Not Applicable’ results show as blank.
Within the ‘Record Details’ side panel, select the ‘Attachments’ tab to view any available documents attached. These can be viewed, downloaded, deleted and added. Right-click an attachment to view options for deleting and downloading.
To add an attachment click on the ‘New’ icon and browse to the required document. Click ‘Open’ and the document will be saved to the record. Repeat for as many documents as are required.
The following column options are available within the Attachment details area.
You may also assign particular records to clients or matters if required. Left click on the relevant record and then select the ‘Client/Matter’ tab. Click ‘New’ and you may now either type in the details required or select the drop-down arrow for further search options.
Records can be assigned at Client level or at Matter level. They can be assigned to more than one Client and/or Matter.

Within the ‘Client/Matter’ tab, you have the following column options.

Individual records can be printed by selecting the ‘Print’ option within the ‘Record Details’ area.
Introductions to Third Parties
After selecting the ‘New’ button under ‘Introductions to Third Parties’, complete all relevant data in respect of the introduction by checking the relevant boxes and filling in any fields.
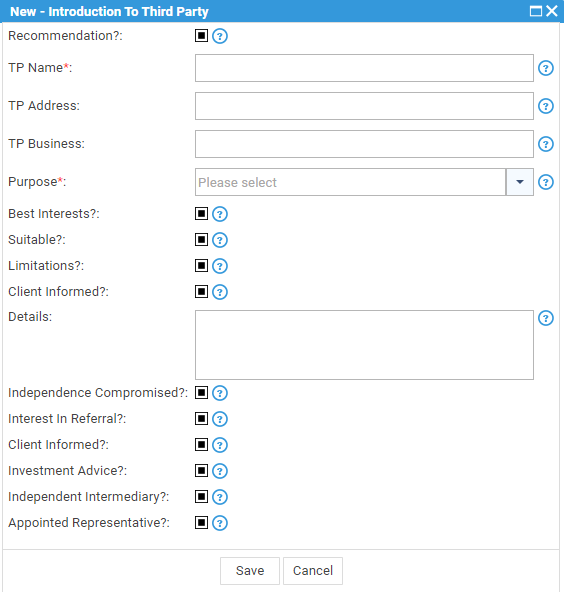
Left-click the check box one or more times to cycle through the options.
- A tick in the box means ‘Yes’.
- A solid square in the box means ‘Not Applicable’
- An empty box means ‘No’
When the report is run, ‘Yes’ results show as ‘True’. ‘No’ results show as ‘False’ and ‘Not Applicable’ results show as blank.
Within the ‘Record Details’ side panel, select the ‘Attachments’ tab to view any available documents attached. These can be viewed, downloaded, deleted and added. Right-click an attachment to view options for deleting and downloading.
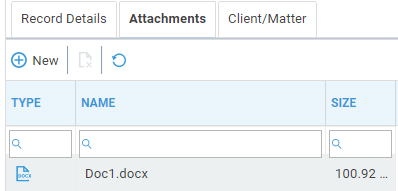
To add an attachment click on the ‘New’ icon and browse to the required document. Click ‘Open’ and the document will be saved to the record. Repeat for as many documents as are required.
The following column options are available within the Attachment details area.

You may also assign particular records to clients or matters if required. Left click on the relevant record and then select the ‘Client/Matter’ tab. Click ‘New’ and you may now either type in the details required or select the drop-down arrow for further search options. Records can be assigned at Client level or at Matter level. They can be assigned to more than one Client and/or Matter.
Within the ‘Client/Matter’ tab, you have the following column options.

Individual records can be printed by selecting the ‘Print’ option within the ‘Record Details’ area.
Equality and Diversity Breaches
After selecting the ‘New’ button under ‘Equality & Diversity Breaches’, complete all relevant data in respect of the introduction by checking the relevant boxes and filling in any fields.

Left-click the check box one or more times to cycle through the options.
- A tick in the box means ‘Yes’.
- A solid square in the box means ‘Not Applicable’
- An empty box means ‘No’
When the report is run, ‘Yes’ results show as ‘True’. ‘No’ results show as ‘False’ and ‘Not Applicable’ results show as blank.
Within the ‘Record Details’ side panel, select the ‘Attachments’ tab to view any available documents attached. These can be viewed, downloaded, deleted and added. Right-click an attachment to view options for deleting and downloading.
To add an attachment click on the ‘New’ icon and browse to the required document. Click ‘Open’ and the document will be saved to the record. Repeat for as many documents as are required.
The following column options are available within the Attachment details area.

You may also assign particular records to clients or matters if required. Left click on the relevant record and then select the ‘Client/Matter’ tab. Click ‘New’ and you may now either type in the details required or select the drop-down arrow for further search options. Records can be assigned at Client level or at Matter level. They can be assigned to more than one Client and/or Matter.
Within the ‘Client/Matter’ tab, you have the following column options.

Individual records can be printed by selecting the ‘Print’ option within the ‘Record Details’ area.