Set up and use Email Templates
Updated Apr 11th, 2024
Who is this guide for?
Any Users, Case Management Supervisors and System Supervisors
Check user access rights to create or use email templates
Step 1
Within supervisor, ensure that the relevant access levels have been granted enabling users to either create or send email templates.
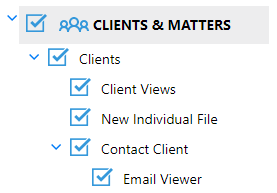
To allow access to users sending email templates, edit the relevant access template/s.
Look for the heading of ‘Clients & Matters’, ensure the check box for ‘Email Viewer’ is checked.
Under the ‘Supervisor’ heading, scroll down to find a check box for ‘Email Templates’.
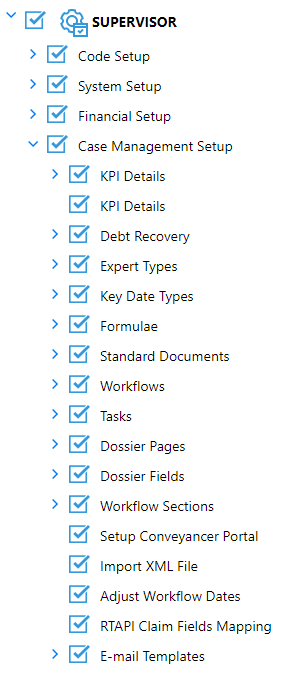
Ensure that this is also ticked, as well as any subsequent options as required.
Set up an email template
You can set up email templates in Osprey to merge client and dossier information into your emails. This can be done by a system or case management supervisor.
Step 1
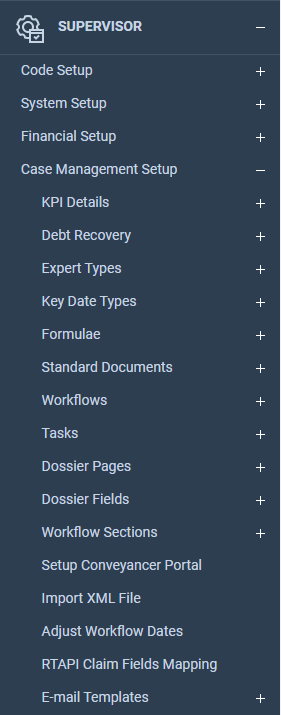
To create or amend email templates, navigate to the ‘Supervisor’ tab and select ‘Case Management Setup’. Now click on ‘Email Templates’.
Step 2
The following screen will display, showing a list of previously created email templates, should any have been created.

Step 3
Click ‘New’ and the following screen will appear:
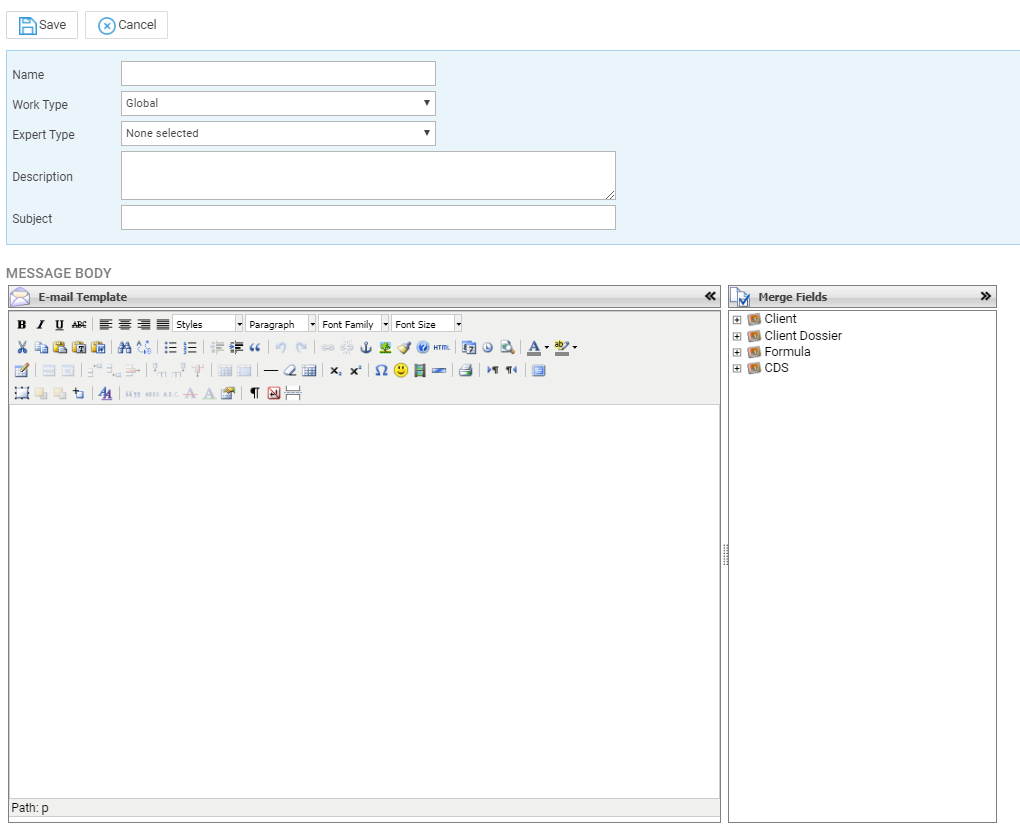
Enter a unique name for your email template in the field provided.
Email templates can be either global or worktype specific. Select the relevant option from the ‘Work Type’ drop-down list.
Select an Expert Type if applicable, then enter a description, a subject line and then the main body of your email in the email template area.
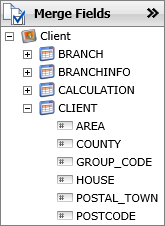
You can also add any merge fields to your email template. These can be taken from your dossier pages or the standard fields list.
Step 4
To add a field, choose an area from which to pull the information by selecting the + icon next to the relevant area to expand your options and view the available dossier pages.
Now select the icon + again to view a list of available fields. Double click on a field to add it to your email template.
Once complete, select the ‘Save’ option in the top left corner of the screen. You can then repeat this process for any further email templates as required.
Step 5
If you wish to delete an email template, right click on the relevant email template and select the ‘Edit’ button. Now press the delete button at the top of the screen.
If you wish to rename, simply over type the current description and then ‘Save’.
If you wish to edit the detail in an existing email template, click the ‘Edit’ button, amend the details in the main body, including adding and removing any merge fields, and then ‘Save’.
Send an email using a template
Step 1
In certain areas of Osprey you will have the option to send an email. You can find the send email button in the matter history or in the client and matter search area.
Select an email template from the ‘Template’ drop-down list.
Dependant on how the template has been set up, you will note that any fields added to the original template should populate with relevant data.
Step 2
Select your recipient using the ‘To’, ‘Cc’ or ‘Bcc options as applicable and then simple click the ‘Send’ button to send your email.
A copy of the email will be saved in the clients matter history.