Resolve spellcheck issues
Updated Dec 29th, 2023
Who is this guide for?
Case Management Supervisors and System Supervisors
Occasionally when running documents through Osprey, you may find that your spellcheck is not checking all of the text.
Step 1
When mergefields are added to Osprey Approach, they appear as follows:

Step 2
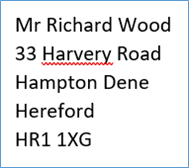
Upon a data merge being run and a document opening with fields populated, you may notice that the data being brought through has not been checked.
In the example below, the word “Harvery” is incorrect, but has not been flagged up.
Step 3
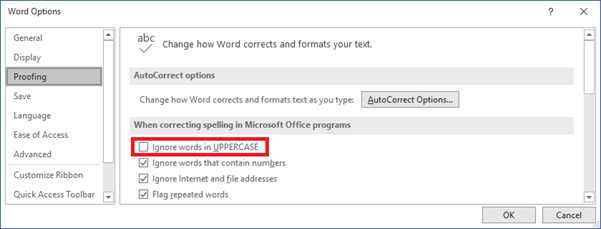
To ensure that your documents are fully spellchecked, you will need to amend the Word Proofing settings. To do this, select the File tab in the top left corner and then click on the Options tab in the side menu.
This will bring up your main Word Options panel. On the left hand side, select the Proofing tab.
There will be a check box titled Ignore Words in UPPERCASE. Uncheck this and click the OK button at the bottom of the panel.
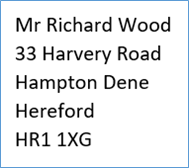
Step 4
Once closed, you spellcheck will now cover the entire document, including all merged data. As shown in our example here.