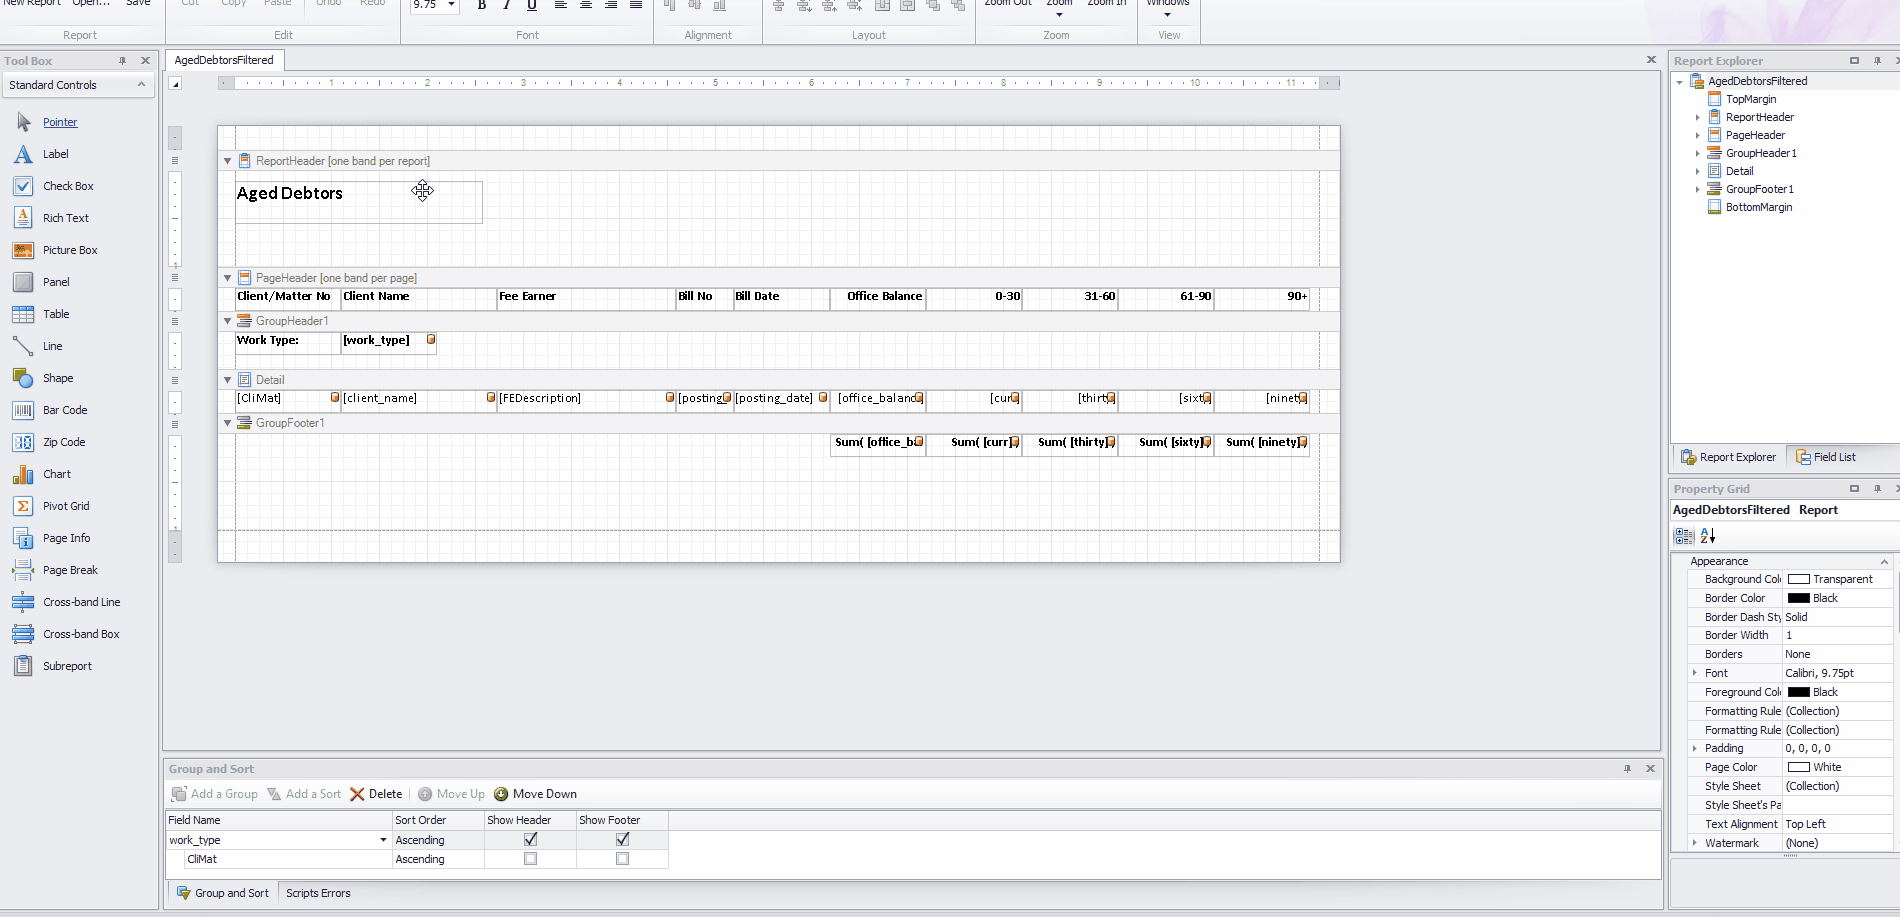
Adding an Image to a Custom Report
Updated Apr 16th, 2024
Who is this guide for?
Case Management Supervisors, System Supervisors and Report Writers
You can add images to your custom reports to incorporate your company logo, accreditation logos etc.
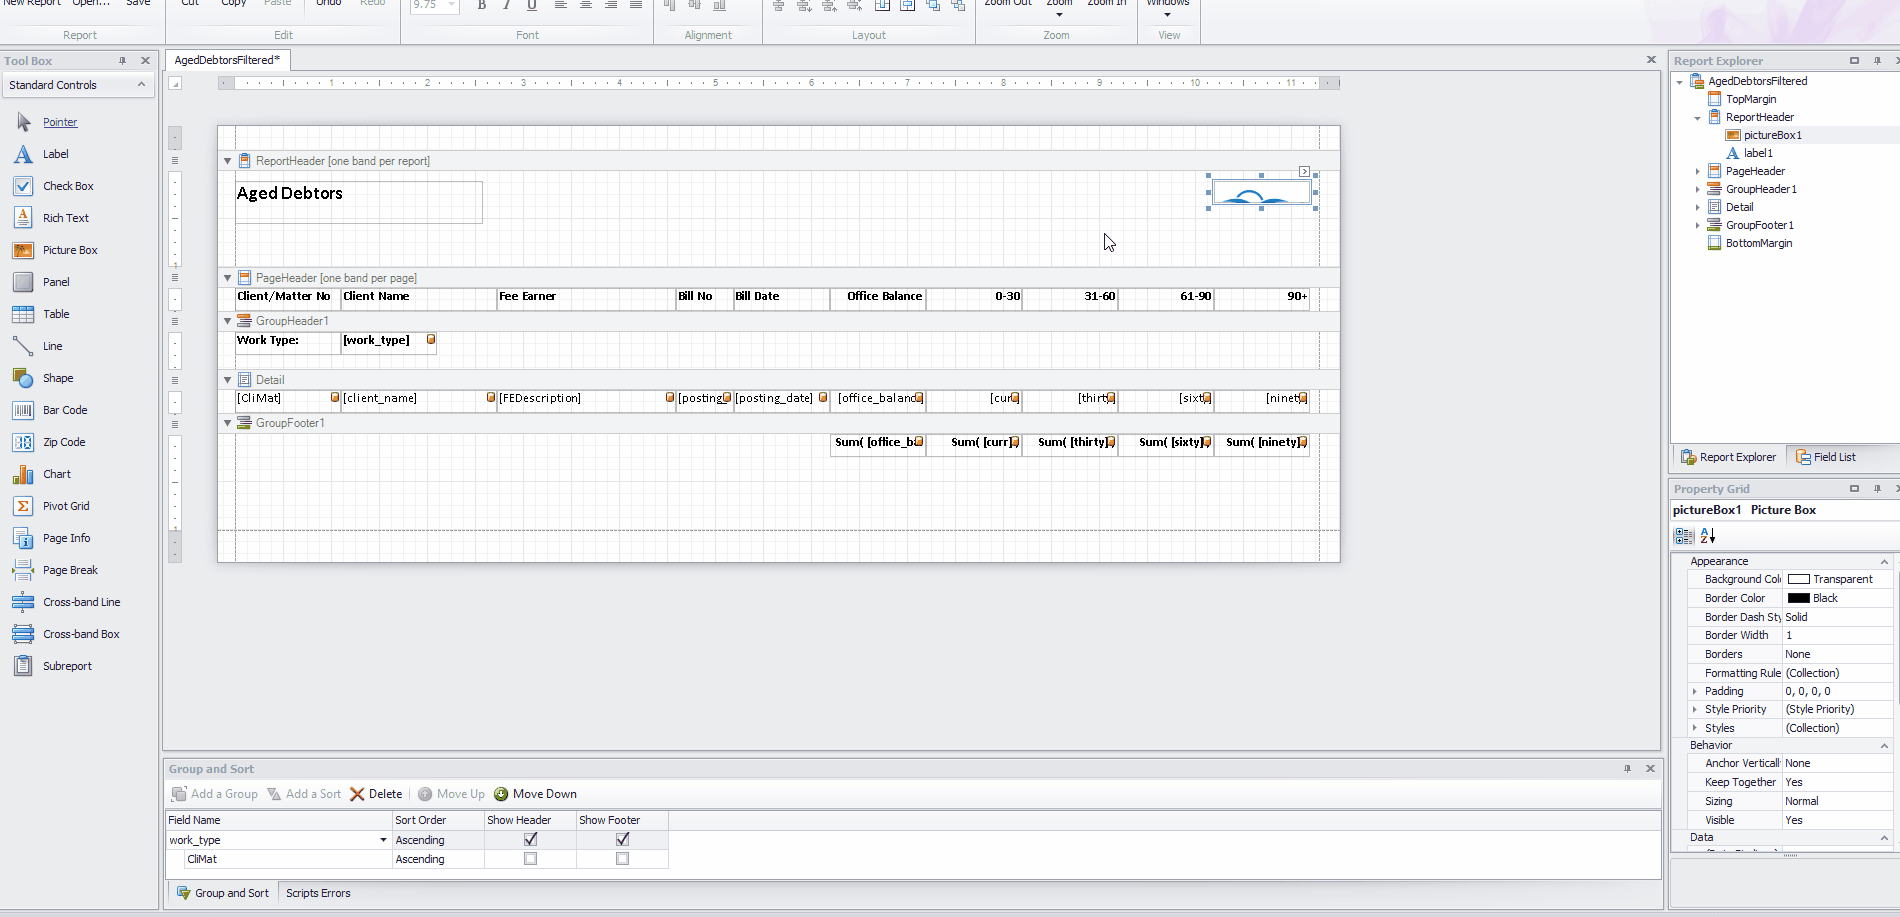
From the Tool Box on the left hand side of the report designer screen, locate the Picture Box tool
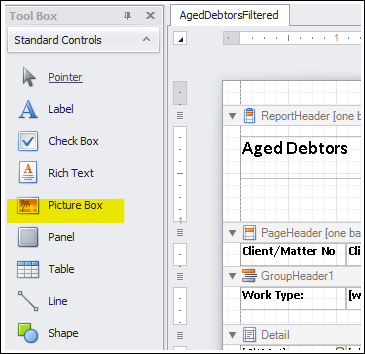
Click and drag it from the Tool Box into the area of your report that you’d like it to appear in.
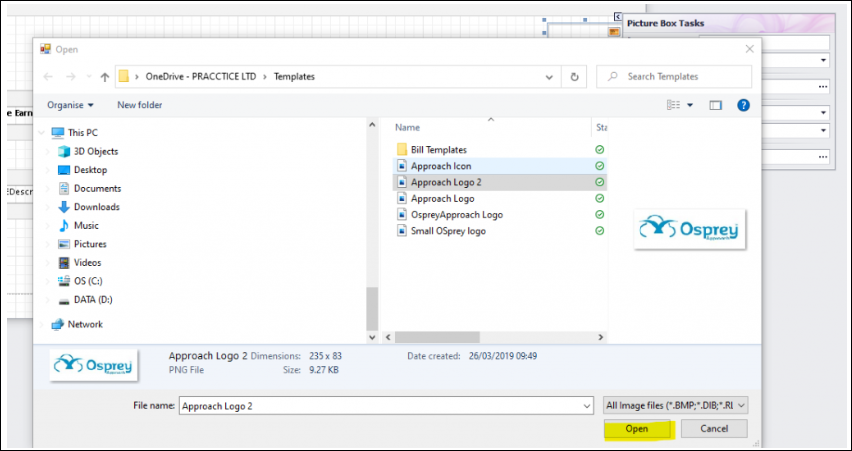
We now need to locate the image.
Insert a picture from your local machine
Select the newly added picture box by clicking it. Now, click the > button in the top right corner of the box.
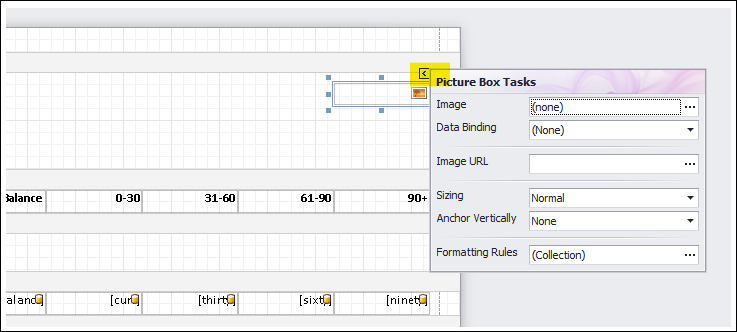
To insert a picture which you have stored on your machine, or in OneDrive, click the … button alongside the Image option.
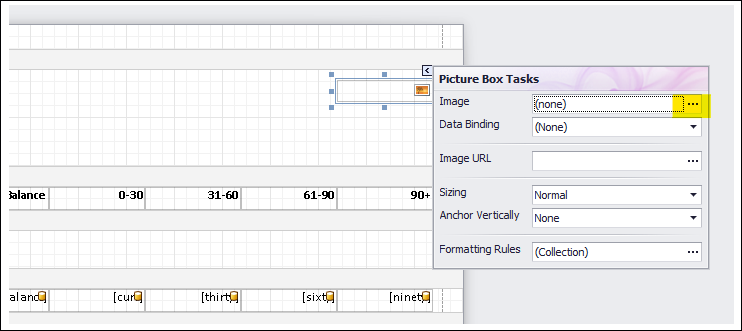
The File Explorer window will open. Navigate to the folder where your image is stored, and select it, then click Open.
You can now resize the box so that the image can be seen properly.
If the size of your image is still not quite right, there are more sizing options here.
Insert a picture from a web site
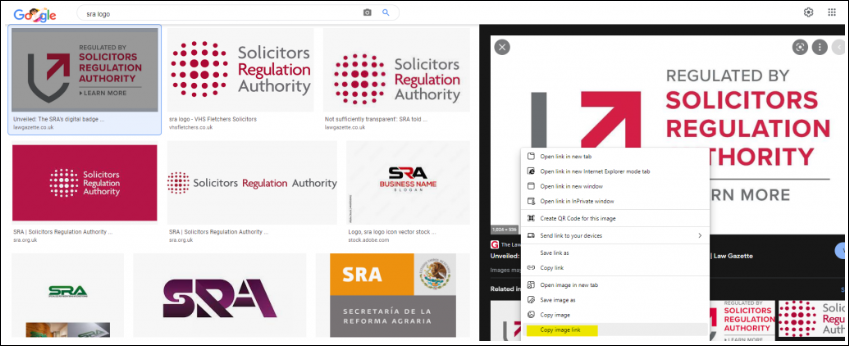
If your image is stored on your web site, or another web site, you can link to it. This means that should the logo update, provided it is stored with the same name and location, it will also update in your report.
To add a web site image, firstly locate your image on the internet, right click it, and select Copy Image Link, or ask your web site provider to give you a link to the required image:
Now, in the report designer, click your picture box, then click the chevron button in the top right corner of the box:
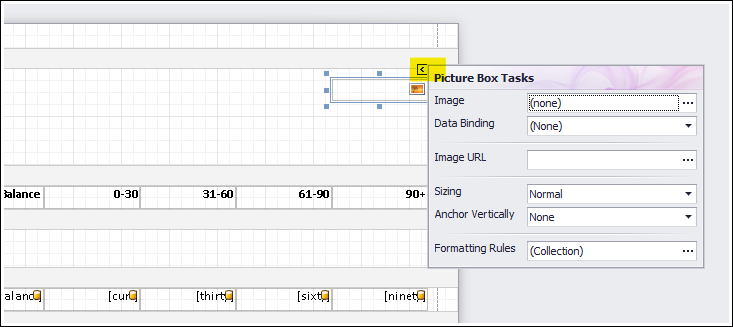
Position your cursor in the Image URL box, and paste the link to the image:
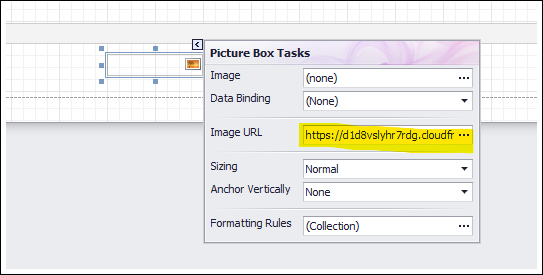
Image Resizing Options
There are also options for resizing the image in the Picture Box Tasks menu:
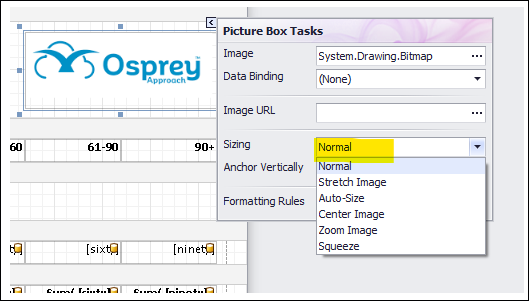
| Sizing Option | Description |
|---|---|
| Normal | The image is displayed exactly as it is |
| Stretch Image | The image will stretch with its picture box when the picture box is made larger or smaller |
| Auto-Size | This option makes the picture box the same size as the image you have linked to it |
| Center Image | This setting will make the image appear in the centre of its picture box |
| Zoom Image | When the picture box has been made larger than the image, using this option zooms the image in so that it fits the picture box |
| Squeeze | Makes the image reduce in size when the picture box is made smaller |