Performing a Conflict of Interest Search
Updated Apr 15th, 2024
Who is this guide for?
Any Users
A Conflict Check is available in Osprey to ensure that you do not add a client who is already present on the system, or another side in the relevant case.
Conflict of interest searches should be carried out whenever you add a new matter in order to ensure that the other side is not already listed as a client on your system.
To run a Conflict of Interest Search,
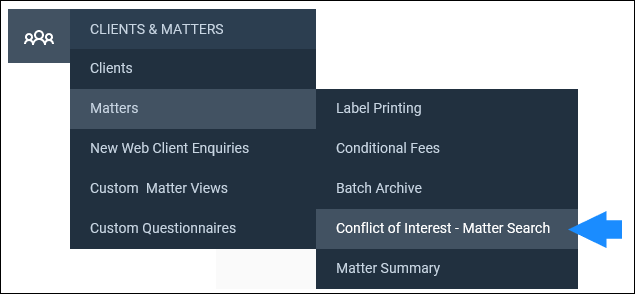
Client Search
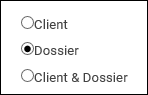
To search for duplicate Client details, ensure that the radio button is highlighted as below
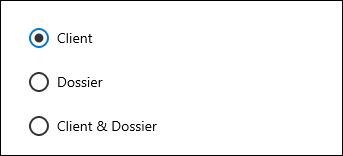
Then select the Next button.
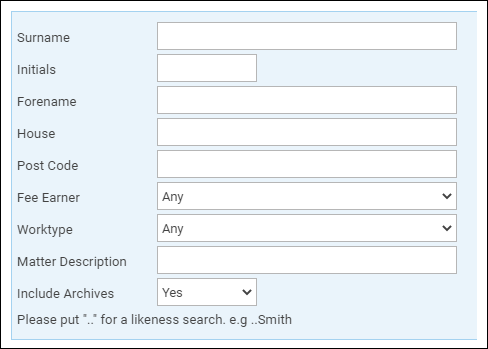
Enter the details you wish to check for. Please note that you will need to select ‘Yes’ from the ‘Include Archives’ drop-down list to search archived files.
A supervisor level user will be able to edit a system switch, to allow archived files to be included in the conflict search by default, rather than the user having to select ‘Yes’ from the list.
Select ‘OK’ to perform the search and bring up the conflicts.
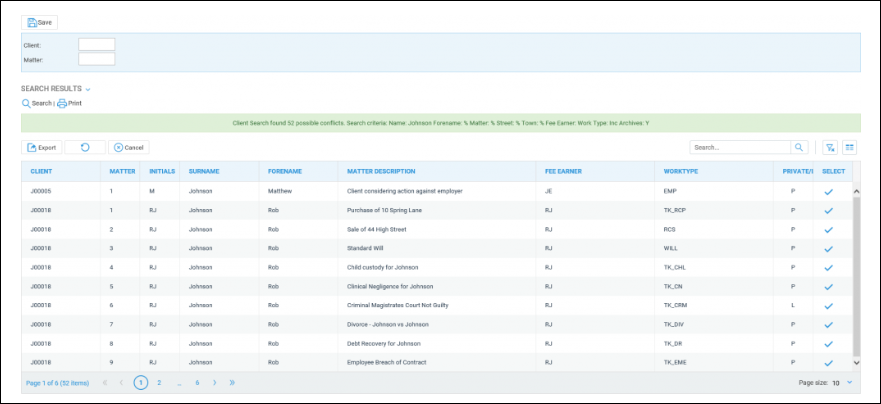
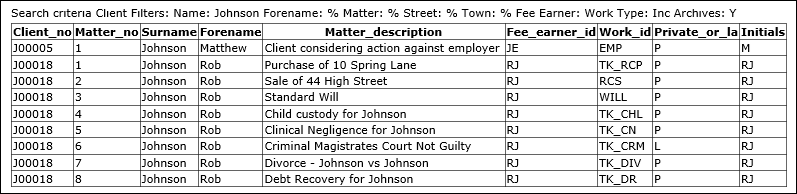
Select the Print button if you wish to print out the results or Search to select a matter to save your conflict search to. Click on the Select icon to go to the relevant matter overview.
This bar will show the criteria used in the search.

To save the results into the Matter History, ensure that the relevant client and matter number is selected, then select Save and click OK when a prompt appears. We can now see that the conflict search has been saved to the Matter History as a web page which can be viewed showing the criteria used and results.

Dossier Search
We will now look at the Dossier search. Highlight the Dossier radio button and select Next.
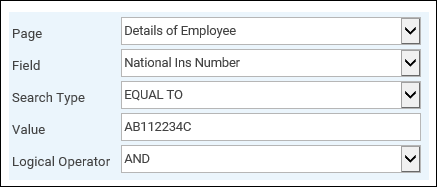
Select the page and field you wish to search by selecting the relevant entries in the drop-down lists. Then select a Search Type.
EQUAL To will return results that exactly match the specified criteria.
LIKE will return results that include the specified criteria but are not necessarily an exact match.
Place the data you wish to search for into the Value box.
Then select ‘Add’.
Your search will appear here. You may add more criteria if you wish.

You may refine your criteria search if you wish. The AND setting will enable you to search for results matching all set criteria.
Alternatively, use OR if you wish to find matches for more than one criteria.
Click OK to run the search. As with the Client search, you can now print or save to the Matter History should you wish.
Client & Dossier Search
You are also able to run a combined Client and Dossier Search, which will first ask for client details to search by, then will go through the dossier search directly afterwards. This option can be used to find a specific client and other side combination.
Remember, the conflict searches DO NOT search archived matters by default, so you must select them if you wish to include them in your search results.
There are also several other ways to search for clients