Auto Filing Outlook Email
Updated Mar 21st, 2024
Sending New Email to Allow Autofile
To use the Autofile feature you must first send an email, to the recipient, using the Outlook connector.
Step 1
Open a new email in Outlook in the usual way.
Step 2
Step 3
If you do not know the Client and Matter number you require, click either of the two buttons ‘…’ next to the fields.
Step 4
Search against appropriate values according to the information you have to hand, e.g. surname, forename, matter description; you can enter all or part of the text, then click ‘Search’.
Step 5
Having located the matter required, right click on it and click ‘Select’.
Step 6
You may use the panel to add email addresses saved to Osprey, add attachments from Matter History as well as packages. More information
The client and matter number will be appended to the Subject of the email as well being tagged to the email header when the message is sent.
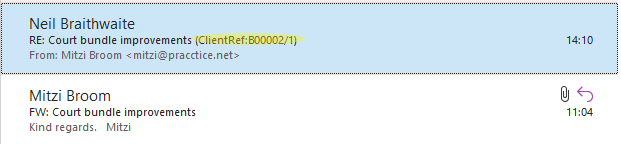
Auto Filing Received Email
Replies to your emails received with the Client and Matter Information tagged may be auto filed.
Step 1
Step 2

Step 3
The email will now be available to view in Osprey on the corresponding client’s matter history.