Add and use Formulae
Updated Apr 11th, 2024
Who is this guide for?
Case Management Supervisors and System Supervisors
You can add Formulae into Osprey to automatically populate your letters and dossier fields.
Please note that only Supervisor level users are able to create Formulae.
Step 1
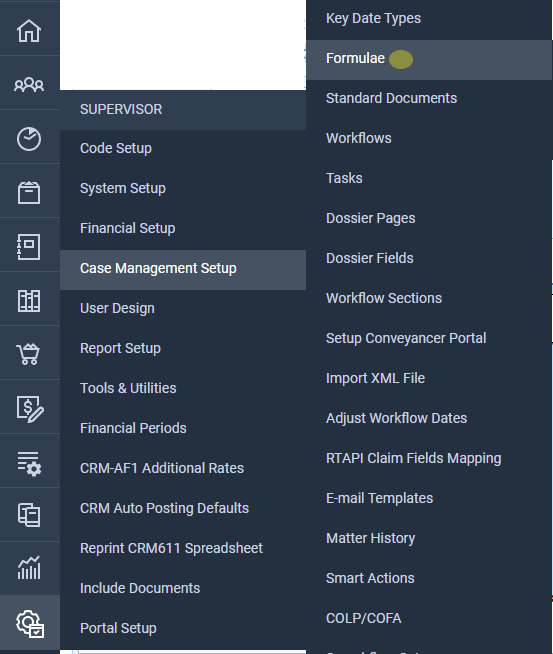
Navigate to your ‘Supervisor’ tab and select ‘Case Management Setup’. Then select the ‘Formulae’ tab from the resulting menu, as highlighted below.
Any formulae previously created will be visible here. To add a new formulae, click on the ‘New’ button at the top of the screen.
Step 2
The following screen will now appear:
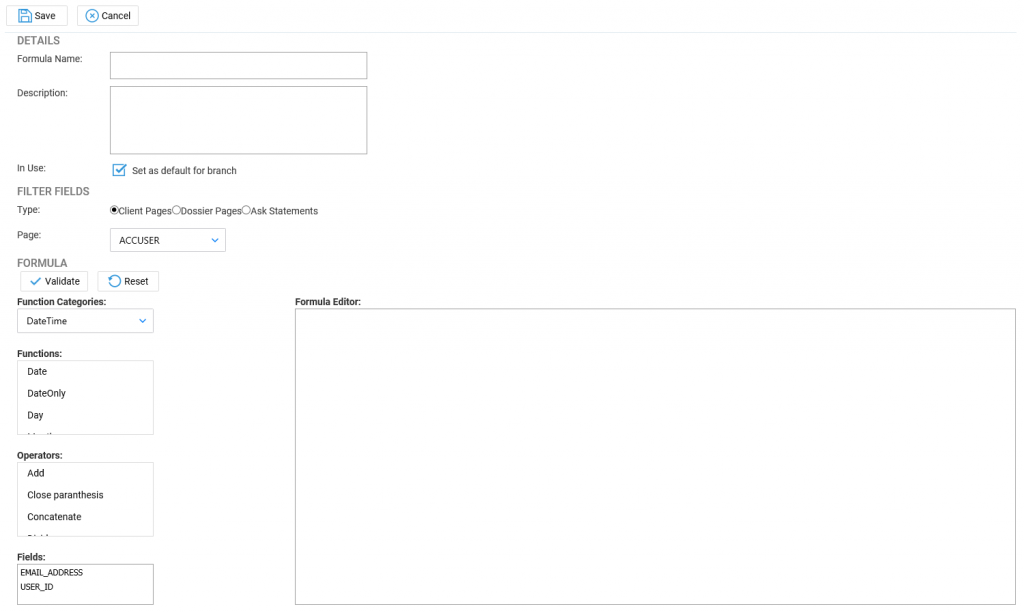
Formulae can be used to perform mathematics on numeric fields, for example if you wished to add together two numeric dossier fields, you would be able to create a formulae for them and have the result appear in your dossier or in a standard document.
You can also use them to join together text fields to prevent duplication of any data. For example, a client’s full name would normally be separated into title, forename and surname. With a formulae, you could have all three display at the same time, which would be useful when adding this data to legal forms and documents.
Numeric Fields
The most common use of the Formula function is to perform sums on chosen numeric dossier fields. Please note that these functions will only work if the dossier field is set as a numeric field – So either integer or decimal.
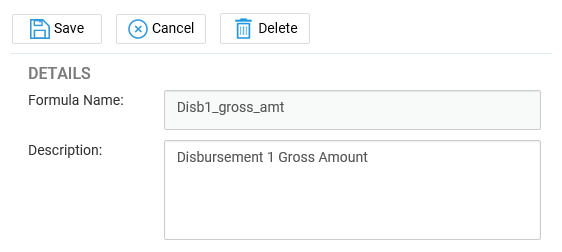
On the ‘Add Formulae’ screen, enter a Formula Name, which must be a unique name, and a description, as below.
Underneath the name and description area is the ‘Filter Fields’ section. This will allow you to select the fields that you would like to be part of your formulae.

You may take any field from your client or dossier area. Once you have selected the relevant type, use the ‘Page’ drop-down list to select the location of the field. In our example, we will include two Disbursement fields to add together.
Underneath the ‘Filter Fields’ area will be the ‘Formula’ section. This is where you can select a function for your formula, an operator to include a calculation and the fields you would like to include.
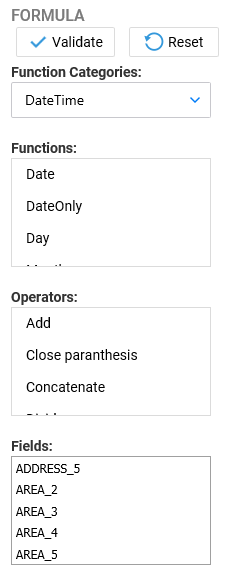
Scroll down the box and double-left click on any functions or fields you wish to include in your formula. These will then be placed into the large formula editor panel to the right of the ‘Fields’ area. When first added, the fields will just appear as one long string of text as shown in the screenshot below.

You can now add separators between the fields to denote spacing if you wish, or add a function.
In this example, we will add our fields together.
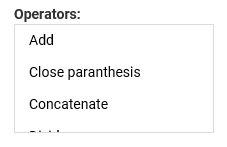
Under the ‘Operators’ area, double-left click the ‘Add’ option to add a + symbol to the formula.
You can now place the + symbol in between the fields you wish to add together, as shown below.
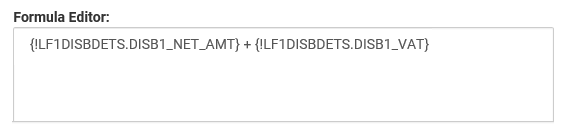
This formula will add the present fields together. You can add any other operators you wish, such as Subtract, Multiply or Divide.
To ensure the validity of the formula, there is a ‘Validate’ button directly under the ‘Formula’ heading. Select this and you will see one of these two messages:
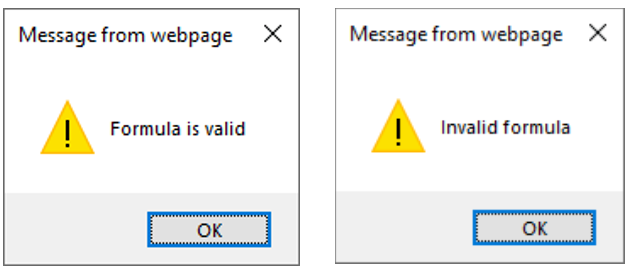
If you see the ‘Invalid Formula’ message, then the text in the Formula Editor is incorrect and will need to be amended. The ‘Formula is Valid’ message advises that the formula is correct and can be used.
You can now click the ‘Save’ option at the top of the screen.
Text Fields
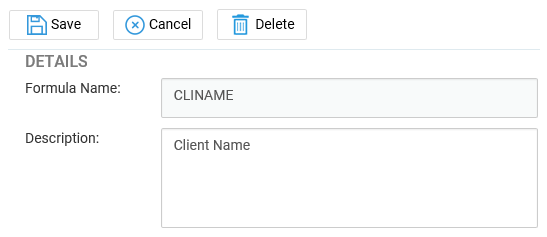
We will use the Client Name as an example. On the ‘Add Formulae’ screen, enter a Formula Name, which must be a unique name, and a description, as below.
Underneath the name and description area is the ‘Filter Fields’ section. This will allow you to select the fields that you would like to be part of your formulae.

You may take any field from your client or dossier area. Once you have selected the relevant type, use the ‘Page’ drop-down list to select the location of the field. In our example, the client names are located in the ‘Linkname’ table, so we will select this.
Underneath the ‘Filter Fields’ area will be the ‘Formula’ section. This is where you can select a function for your formula, an operator to include a calculation and the fields you would like to include.

For a text field, you will only need to select the relevant fields you need from the ‘Fields’ box. Scroll down the box and double-left click on any fields you wish to include in your formula.
These will then be placed into the formula editor to the right of the ‘Fields’ area. When first added, the fields will just appear as one long string of text as shown in the screenshot below. You can now add separators between the fields to denote spacing.
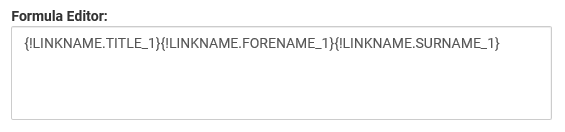
To separate the fields, you must add the text &’ ‘& between each one, as shown in the example below.

Now, you can place any text between the apostrophes which will then be pulled through into the formula. In this example, a space will be added to separate the title, forename and surname.
To ensure the validity of the formula, there is a ‘Validate’ button directly under the ‘Formula’ heading. Select this and you will see one of these two messages:
If you see the ‘Invalid Formula’ message, then the text in the Formula Editor is incorrect and will need to be amended. The ‘Formula is Valid’ message advises that the formula is correct and can be used.
You can now click the ‘Save’ option at the top of the screen.
Using Your Formula
Now that your formula has been validated and saved, you will be able to use it on your dossier pages and standard documents.
Navigate to the Dossier Fields area under the Supervisor > Case Management Setup tab and select the ‘New’ button at the top of the screen.
Enter a unique field ID and a description, then select ‘Formula’ from the ‘Type’ drop-down list. A new drop-down will appear titled ‘Use Formula’. Here you can select the formulae to link to the dossier field. We will link our Client Name field.

Now click ‘Save’ to add your new field.
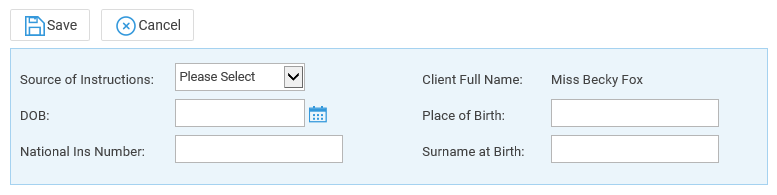
You can now add your field to a relevant dossier page as you would with a normal dossier field.

Once added at an appropriate place in your dossier page, the information will be brought through upon accessing the dossier under the Case Management tab.
A formula can also be added to a standard document without the need to link the relevant dossier field, although you may still do this if you wish.
To simply link the formula, navigate to the Standard Documents area under the Supervisor > Case Management Setup tab. Now right-click on the document you wish to add the formula to and select the ‘Fields’ option.
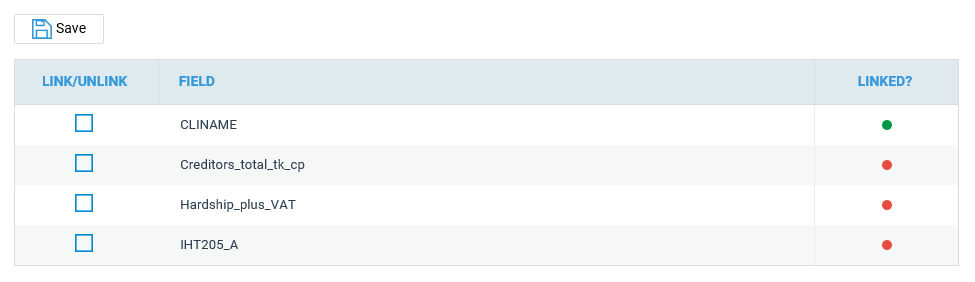
From the ‘Standard Document Fields’ area, select the ‘Formula’ radio button.

Now from the list of available formula, tick the box corresponding to the one you wish to add and select the ‘Save’ button to link the field to the document.
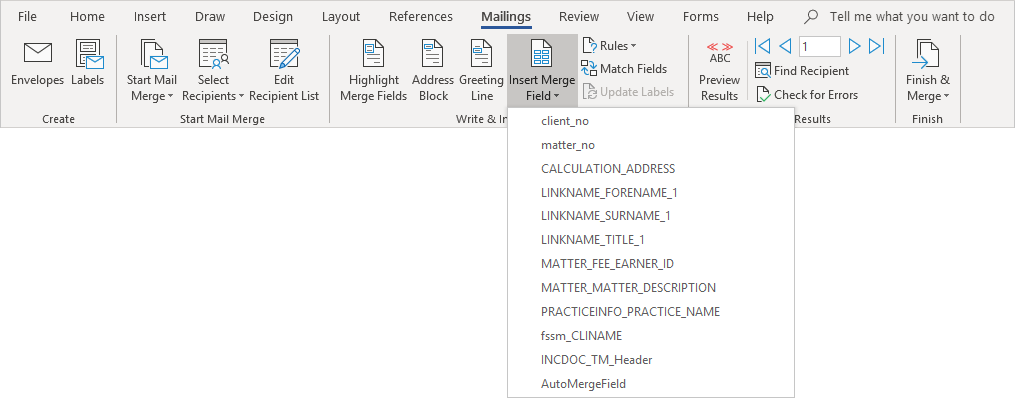
You can now add the formula (highlighted above) to your document in the same way that you would add a normal dossier field.